How it works
Ten steps from the first click to the last reply. Four of them you can try right here: type, and the invitation changes as you do. The other pictures are real screens of the editor. Throughout, Anička and Tomáš are a couple we made up.
Want to see what your guests get first? Open the sample invitation →
Step 1: Start writing at once, for free
Press “Create your free invitation” and the editor opens at once. The guide asks one question at a time, and you can skip any of them. Save the invitation with Google or your email whenever you like. An unsaved trial invitation is deleted after seven days.
Step 2: Pick a template
In the editor, under “Blocks”, you will find “Template”: Nhật Bình with its painted couple, Amalfi with lemons and blue majolica, or the restrained Bellagio. Switch whenever you like, and your texts, photos and block order stay as they are.
Step 3: Names, date and places
The guide asks your names, the wedding date, and where the ceremony and the reception will be, with the address and the time. You can add the parents who invite alongside you too. The preview in the corner shows the invitation as your guests will see it.
Step 4: Your texts in your languages
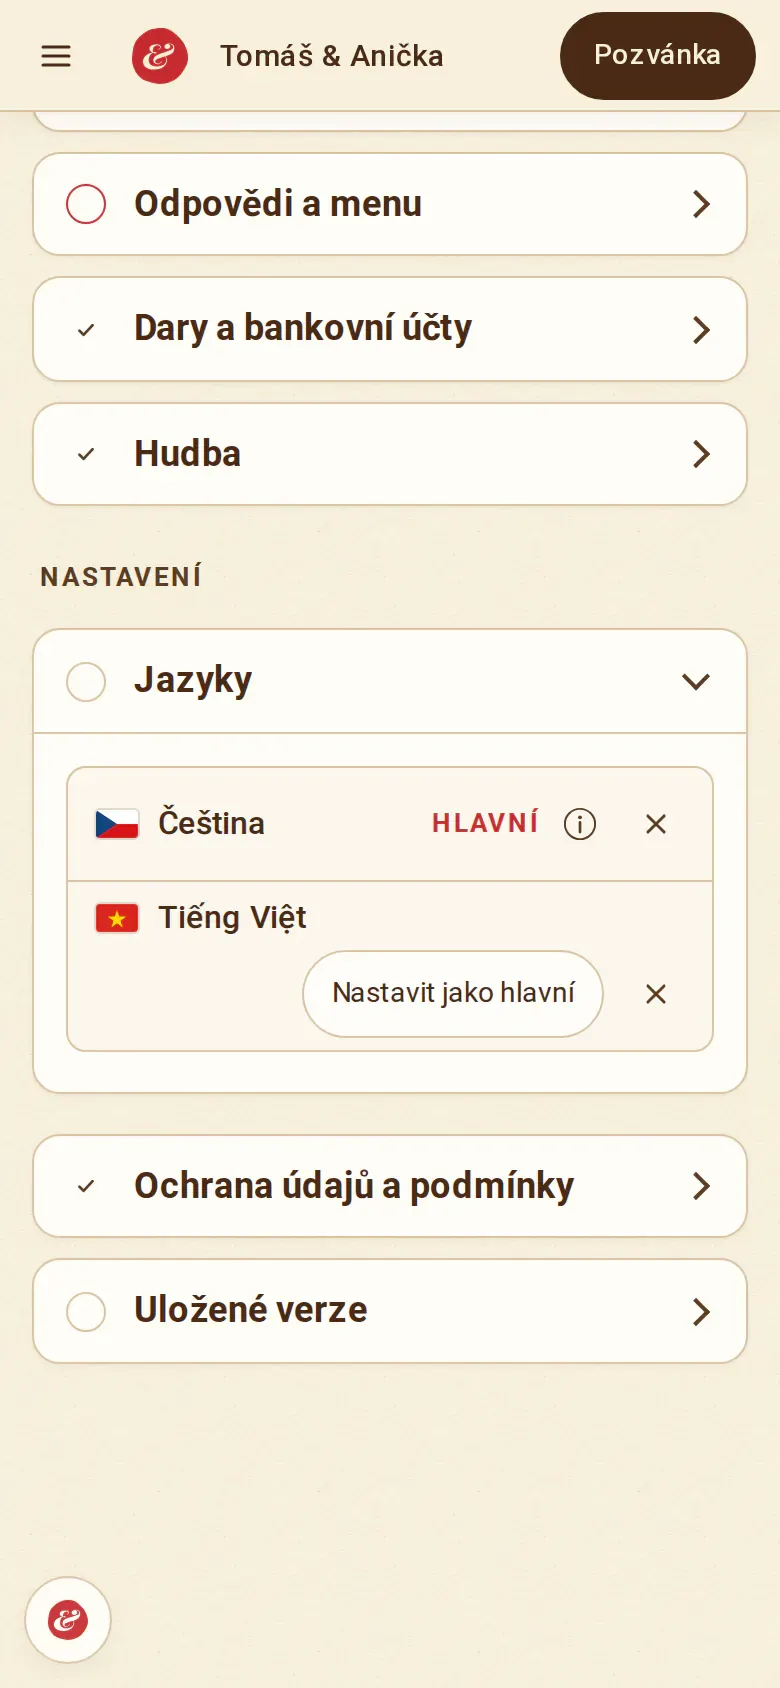
Under “Languages” you choose the invitation’s main language and add others. Today that means Czech and Vietnamese. You write each language yourselves, in your own words, and every guest opens the invitation in theirs.
Step 5: Photos and music
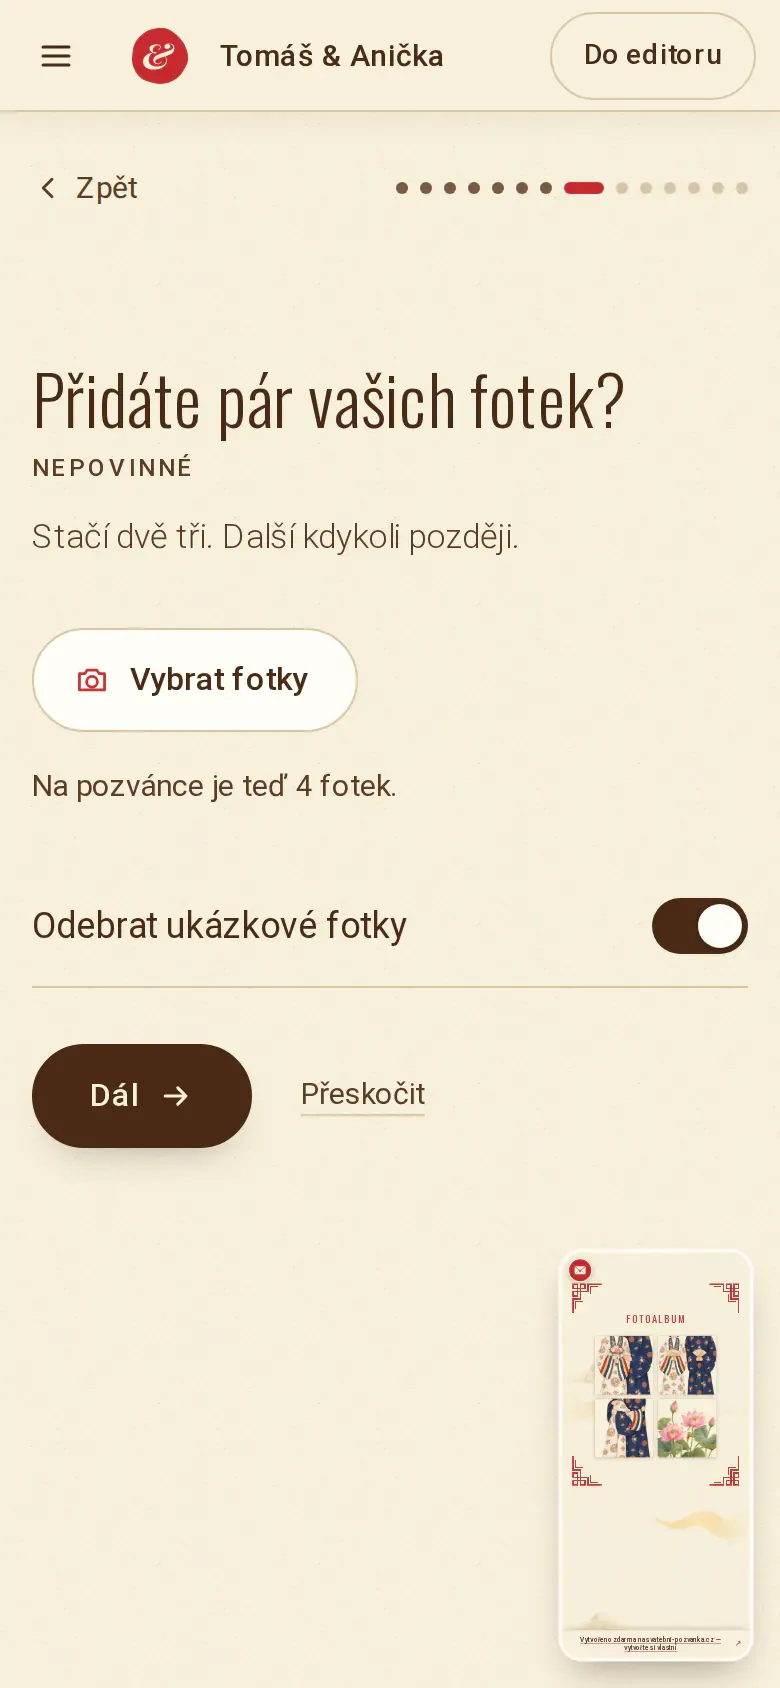
“Choose photos” adds them straight from your phone, and your guests leaf through them in the invitation. One switch removes the sample pictures. Free includes 4 photos in the gallery.
PremiumPremium allows up to 100 photos and your own background music.
Step 6: Replies and meal choice
Turn on “Guest replies” and every guest tells you from the invitation whether they are coming and how many of them there will be. With “Guests choose a dish” they also pick from your menu. You edit the dishes in the editor under “RSVP & menu”.
Step 7: Wedding gifts by QR payment
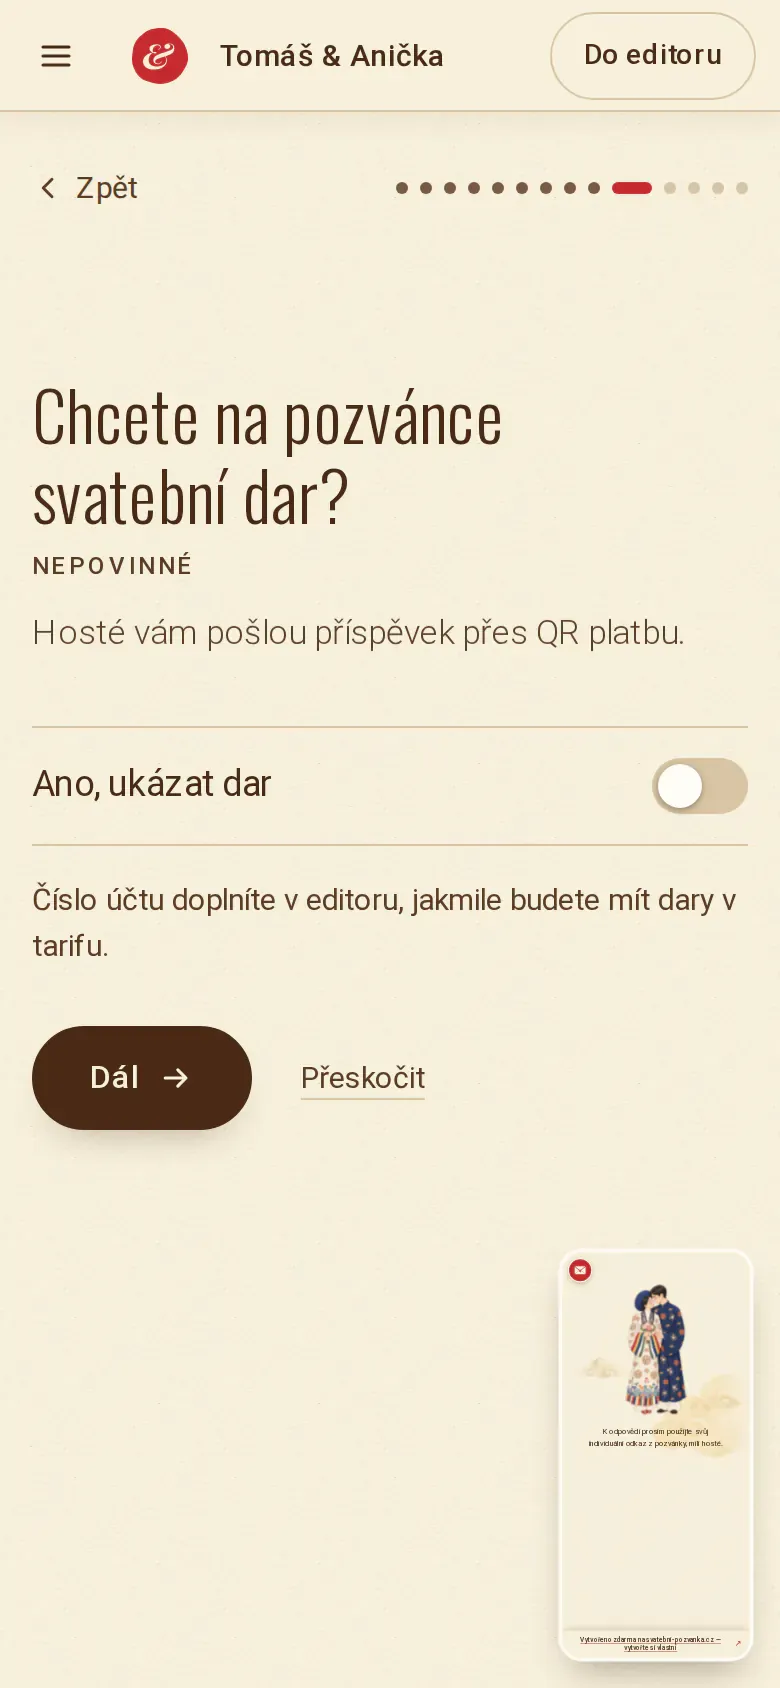
Guests send you a money gift by QR payment, straight to your account. You can write the gift’s texts without Premium and add the account number once your plan includes gifts.
PremiumWedding gifts come with Premium.
Step 8: Guests and personal links
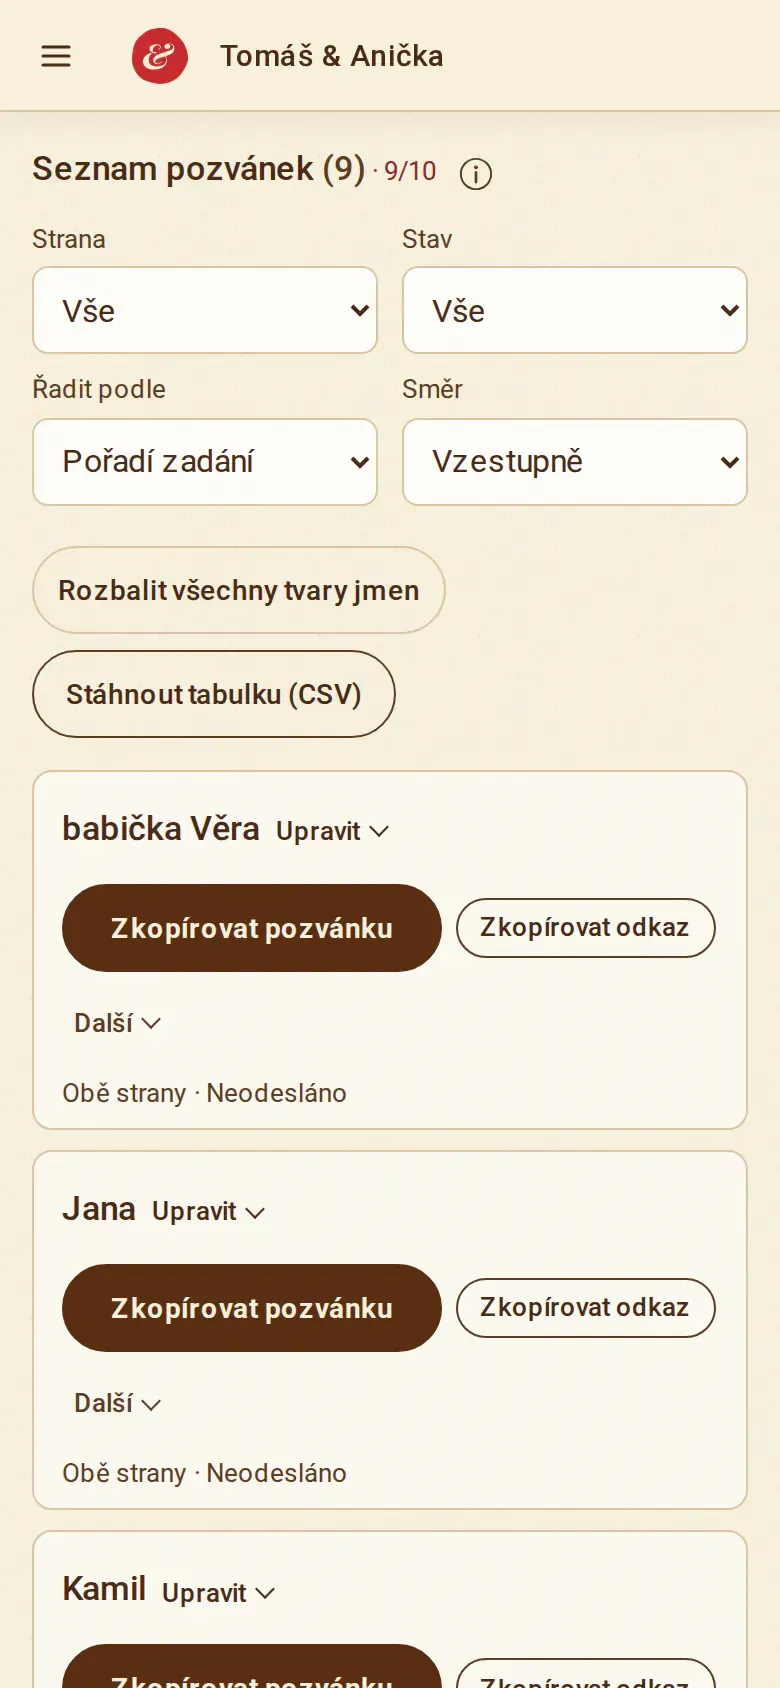
On the “Guests & sending” page you add guests one at a time or paste a whole list at once. Every guest gets a personal link: the invitation greets them by name, in Czech with the right case ending, and their reply is filed under their name. The guest list has no limit. Free gives you 100 personal links; a trial invitation has 10 until you save it.
PremiumPremium has 150 personal links and Exclusive 500. You pay once per invitation, with no subscription.
Step 9: Send the links by chat
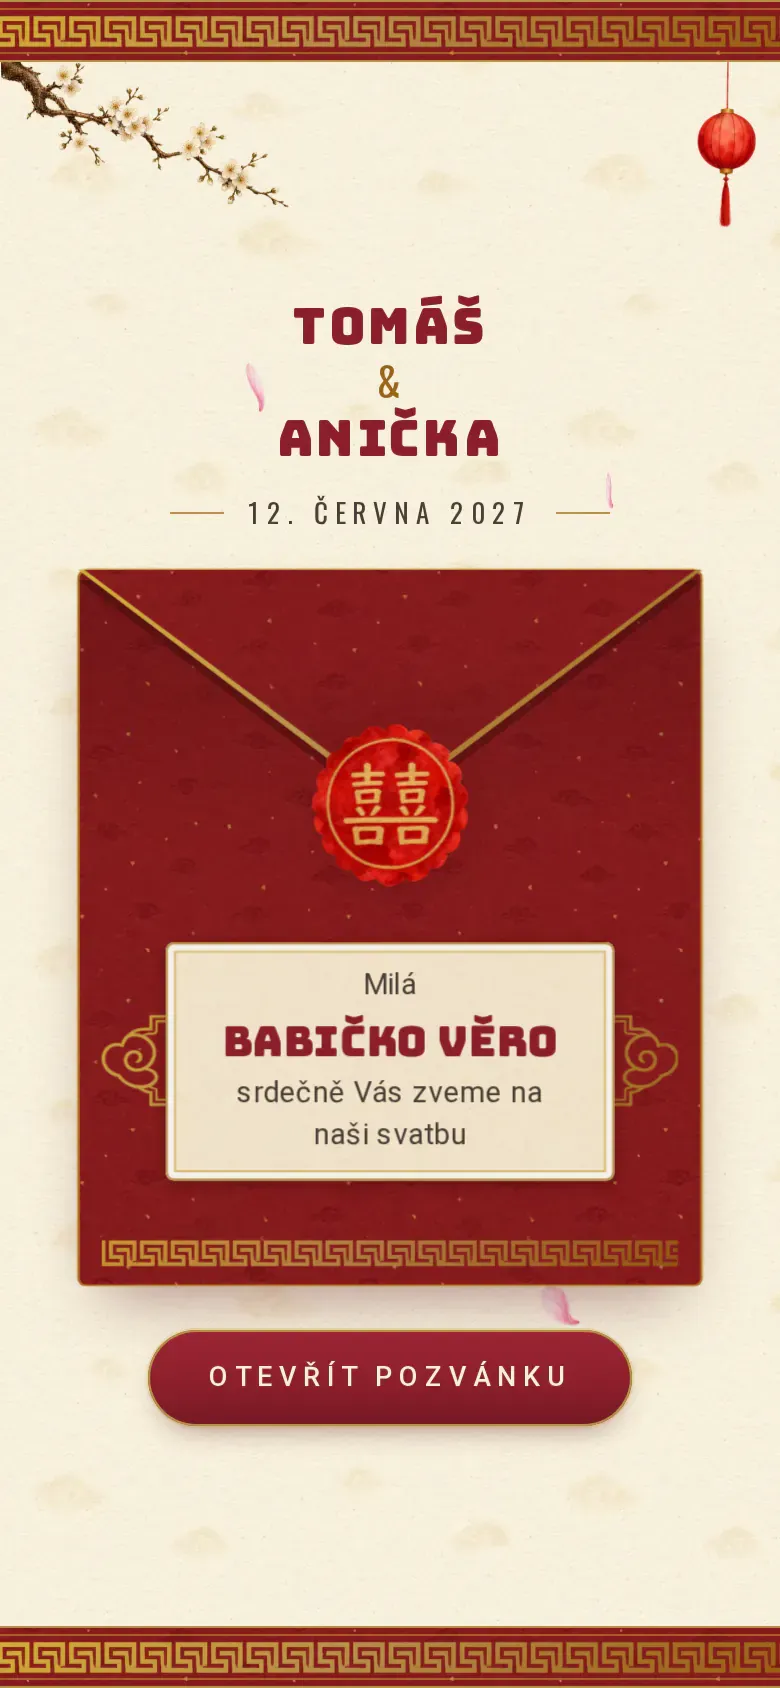
“Copy invitation” copies the greeting and the link, and you paste them into WhatsApp, Messenger or a text message. On a phone, “Send” opens the share menu. Your guest opens the link and finds their own name on the envelope.
Step 10: Follow the replies and download them
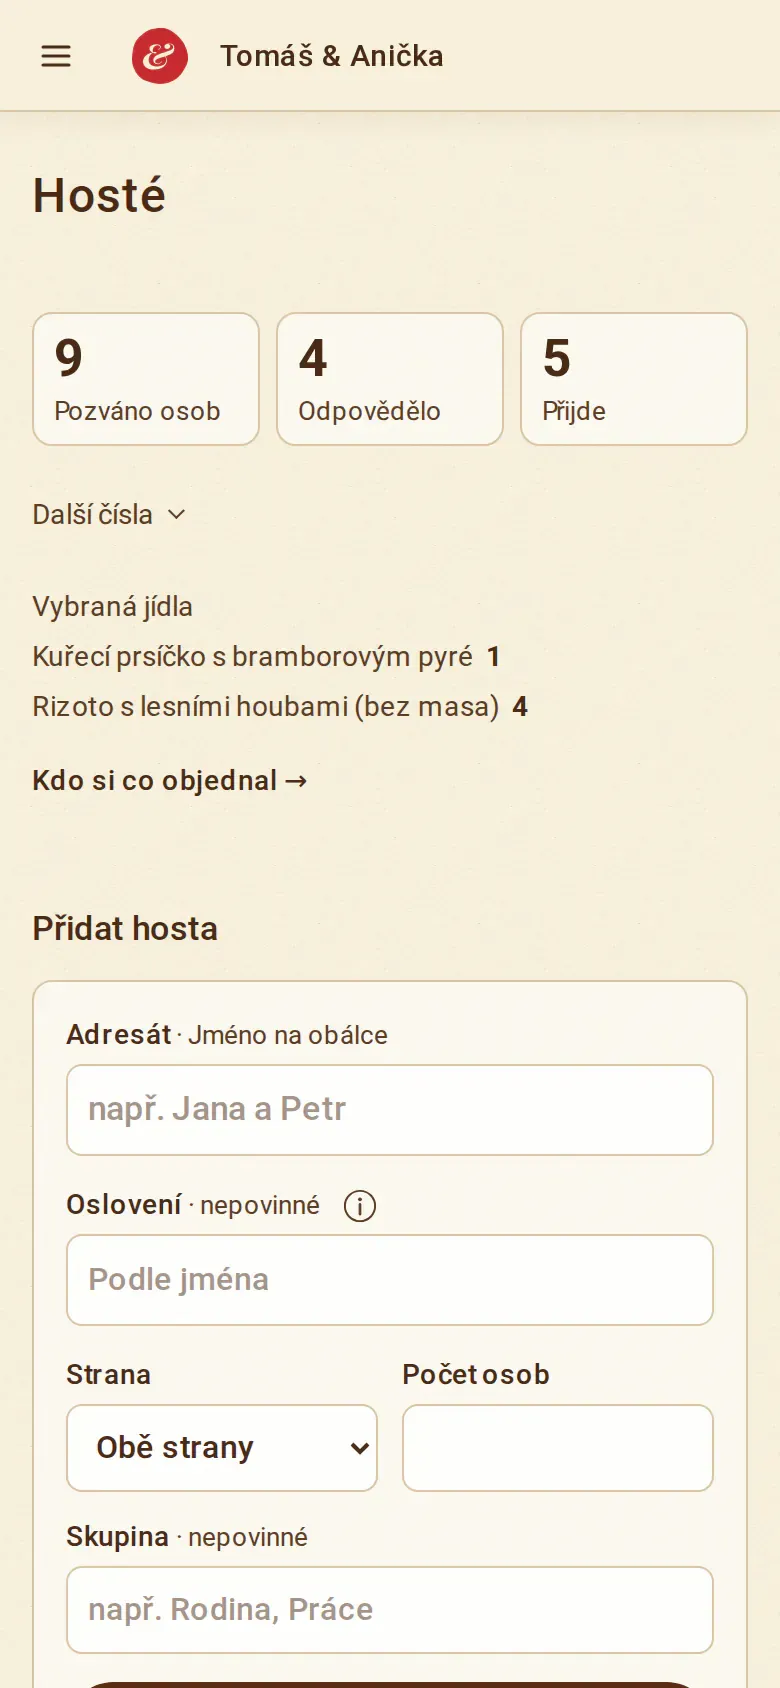
The overview shows how many guests you invited, who has replied, how many of you there will be and who has not answered yet. Under “Who ordered what” you get the dishes for the caterer, with an A4 print. Download the guest list with every reply as a CSV table. The invitation stays online for 12 months after the wedding. At least four weeks before we delete it, we email you, and in Settings you download a ZIP archive of your guests, replies, meal choices and messages.
See the pricing for what is free and what comes with Premium →